Why Do You Need an OVH Account?
Servers from OVH data centers are managed through the OVH control panel. There you can reinstall the OS, check server status, configure reverse DNS, and much more. We handle server renewals on our end — your account is only needed for management.
1. Create an OVH Account
Go to the registration page: https://auth.eu.ovhcloud.com/signin/
Select OVH Ireland (EU branch) — that’s where our clients’ servers are hosted.
Important: Registration with Russian personal data doesn’t work. Use details from Kazakhstan, Ukraine, or another country — clients from these countries register quickly and without issues.
2. VPN
Before registering (only if you’re in a different country), connect via VPN to the same country you’re entering in the form. For example, if you’re entering Kazakhstan — connect to a Kazakhstani VPN server. Without this, the form may reject your registration without any clear explanation.
Use a regular browser — not private mode, not Tor, not a built-in browser VPN.
3. Common Registration Problems
Phone number issue
This is the most common cause of errors. OVH validates the number on the backend, but the form doesn’t visually highlight the field — you simply can’t proceed.
Rules for correct input:
- The number must be real and match the selected country
- For example, Kazakhstan format: 8 (771) 000 9992 — length and format must match
- Don’t use toll-free numbers (8-800 and similar) — they’re not personal numbers and OVH won’t accept them
- Try different formats: with +, without +, with a leading 0
Full name issue
Enter your full first and last name — not initials, not abbreviations. OVH sometimes blocks progression if the name format is incorrect.
Form keeps asking for data after login
If after logging in you’re constantly redirected back to a data collection form, some field was filled in incorrectly during registration (most often the phone number or name). Contact our support and we’ll sort it out together.
No need to enter VAT
We handle server renewals, so you don’t need to enter a VAT number — just skip that field.
4. Send Us Your «Identifiant Client»
After successful registration, OVH will issue you a customer identifier (identifiant client) — it looks something like this: ab12345-ovh.
Send this login to us via a ticket at https://my.abcd.host — we’ll link the server to your account.
5. Confirming Access
After you’ve sent us your login (e.g. ab12345-ovh), we grant you access to the server. You’ll receive an email from OVH — find the following line in it:
«To confirm or decline the request, please click on the following link»
Follow the link in the email. In the OVH admin panel that opens, click the gear icon and select «Accept request».
Alternative method — manual confirmation using the key from the email:
- Copy the confirmation key from the email
- Go to: https://manager.eu.ovhcloud.com/#/account/contacts/requests
- Enter the key and confirm the request
(The screenshot in the original article shows where the key is located in the email)

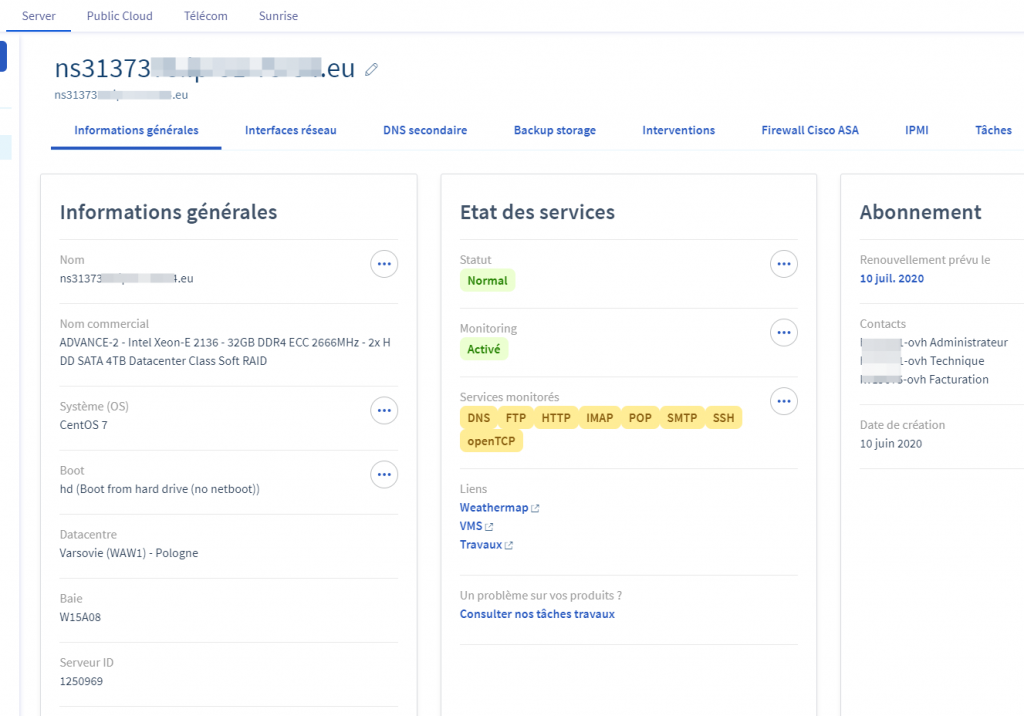
6. Done — the Server Is Under Your Control!
You can now manage your VPS or dedicated server through the OVH panel: reinstall the OS, reboot the server, check status, configure networking, and much more.
Добавить комментарий